With FDM 3D Printers, multicolor prints can be made by taking one filament out and replacing it with a different colored filament. This is a great way to draw attention to your 3D prints or to overcome the hassle of painting the models. In this guide, we’ll go over how to 3D print in multiple colors, including how to use both the hardware and software side of this feature.
What Kind of 3D Printers are able to Print Multiple Colors
More than likely, if you have a 3d printer, it already has the ability to print in multiple colors. It’s just about how complex the final part can be. If you only need one or two color changes on one part, you can get by with a normal single extruder 3D printer.
On the other hand, if you want to full-on production mode for a bunch of parts, you’ll probably want to upgrade your single extruder 3D printer to handle the changes automatically. This also goes for people who want hundreds or thousands of color changes in a single model.
If you want to save on time or material for production, you’ll want a 3D printer with multiple heads. From what I’ve seen, you can either go with a dual extruder where both extruders are on the same rail or a system that changes out extruders like a CNC tool changer.
3D Printer with Only One Nozzle
Single extruder 3D printers allow a user to print layer by layer using only one filament at a time. To add color to a model, you’ll have to add a stop in the printer’s g-code so the printer waits for you to change out the filament manually. You can set g-code stops at certain layer heights so you can control where the color change happens.
Alternatively, there are filaments out there that are created with color changes inside the spool. This allows you to create colorful parts without the need to add stops to the printing process.
Color Changing Filament
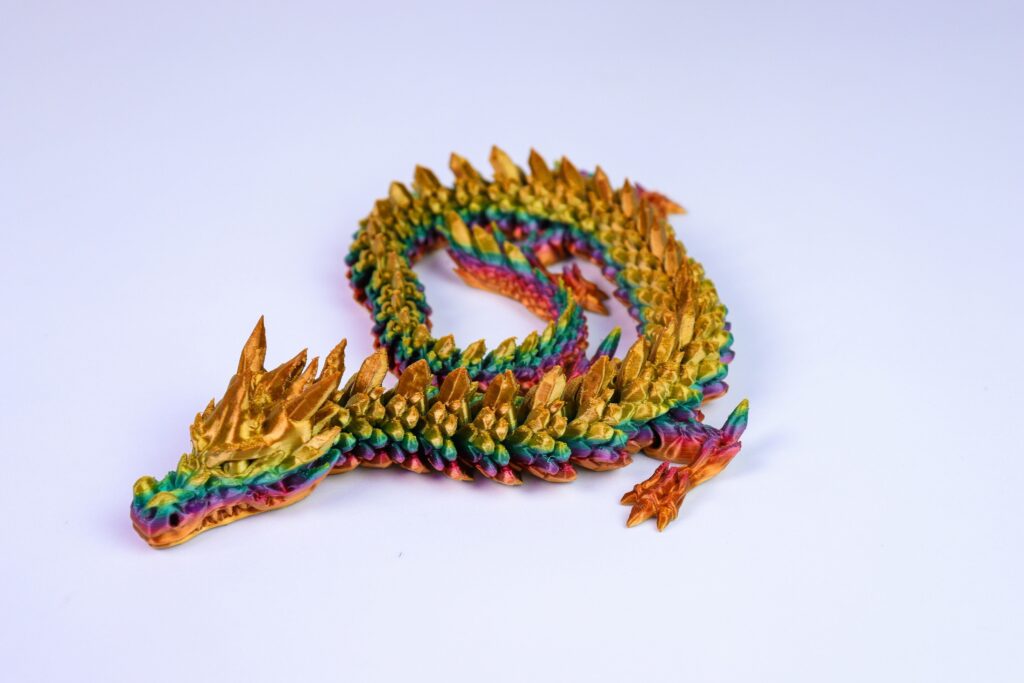
There are two options for color-changing filament. The first uses a color change after a set length of filament. Most of the time, this type of spool is known as rainbow filament. The colors can change sometimes up to five or six times, depending on the brand, before repeating colors. On the model, the color change happens in the z-direction.
The results will vary depending on the width and height of the model. For wide models in the x and y axis, the color changes will happen more frequently. The taller the part, the more color changes will be included in the part.
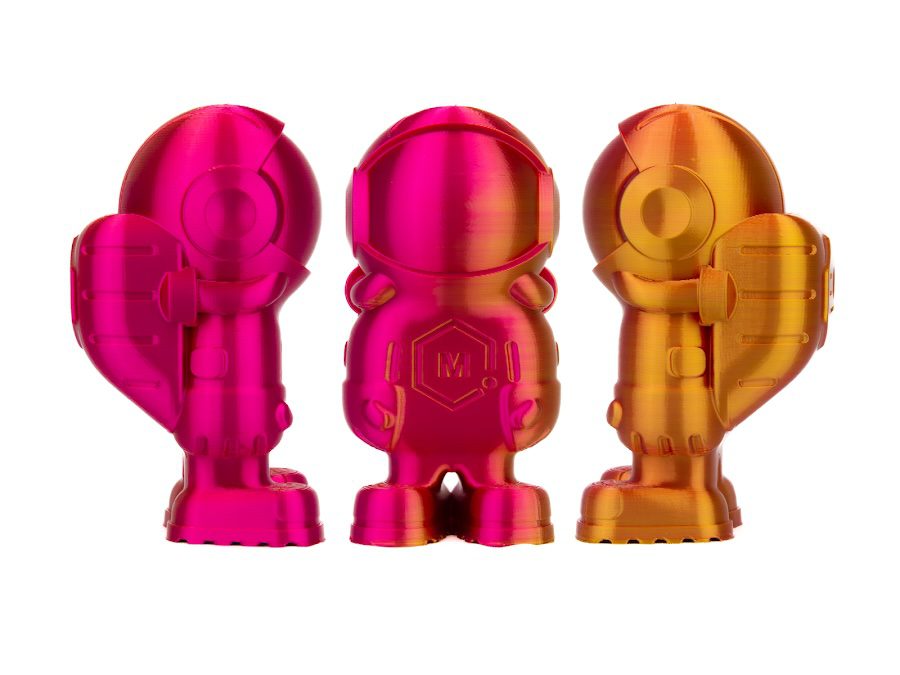
Another way to add more color through the filament is through the dual color spools (sometimes called quantum color). Here, the filament change is in the xy-axis rather than the z-axis. The filament is created with one side of the filament as one color and the other side as a different color. Some color combinations are yellow and red or green and blue. It’ll give you a sweet color effect as you rotate the object around, changing from one color to the other.
The G-Code Stop is a simple way to add a color change or even alter your model by inserting magnets in the middle of your print.
The line of code will stop the printer during the middle of the print so you can take out the old filament and load a new spool. You’ll have to resume the print once you have made your changes.
You’ll have to design your models so the color change makes sense. Raising the letters above the base or strategically raising some features above another so the right colors show up at the correct time. It’ll take some time and design intent but you’ll get the hang of it after designing models for a bit.
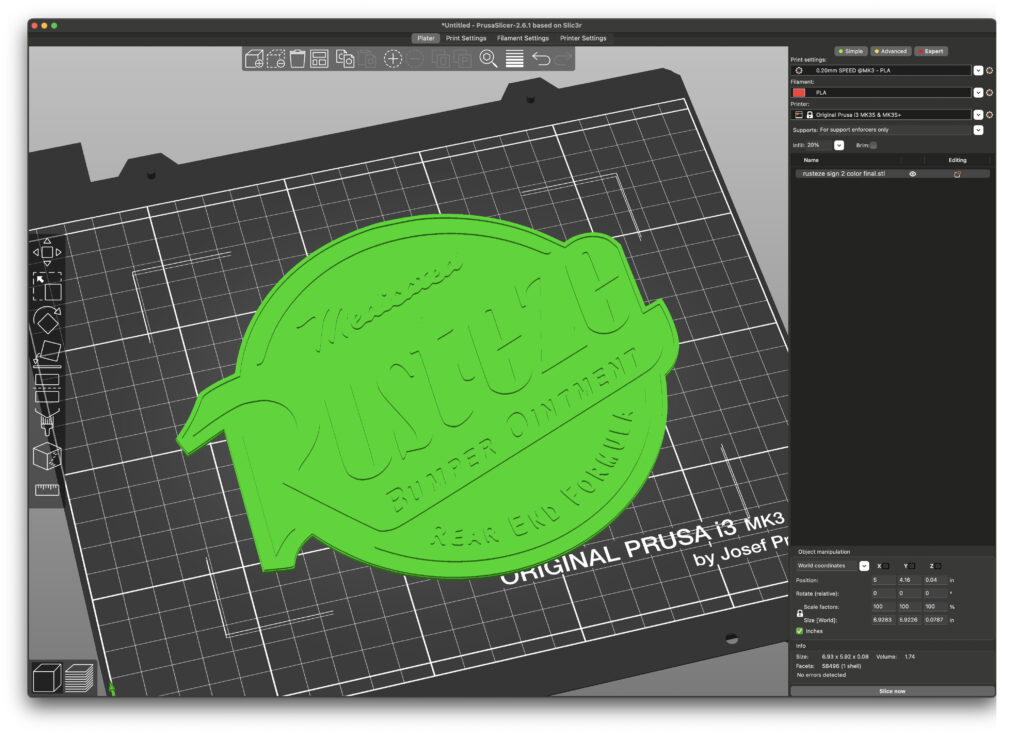
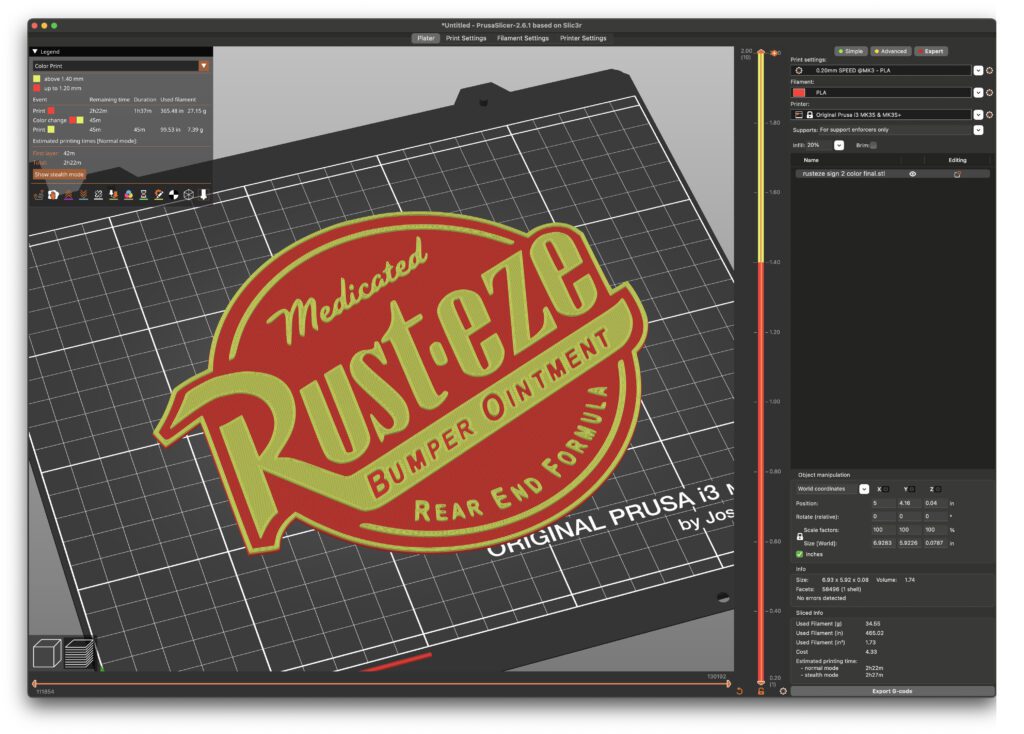
To create the g-code stop, we’ll use Prusa Slicer in this example. After you download the software (for free), just drag and drop your model, set the appropriate settings, and hit “Slice Now” in the lower right-hand corner.
Now, on the right-hand side of the screen, locate the layer that you would like to initiate the layer change. The layer change will happen right before the printer starts this layer. Hit the plus mark when you find this layer.
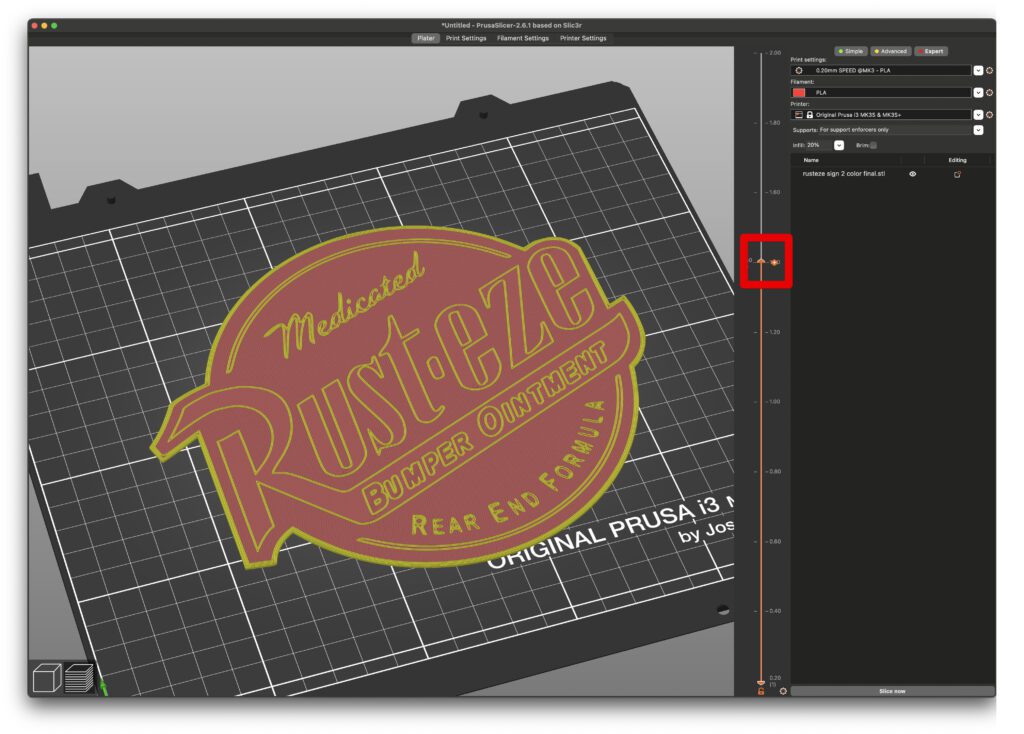
You’ll have to reslice the model, but once it’s done, you should be able to confirm that a pause will happen by looking in the dialog box in the top left of your screen. Also, the rest of the part should be a different color than the first layer.
You’ll be able to see how long into the print you’ll have to wait in order to make the color change. You’ll know what time to come back and give some attention to the printer after you press start.
Also, you don’t have to do just one color change. As long as it makes sense in your model, you can make as many color changes as you want. I’ve seen some models with a change on every layer, but you do have to make all the changes yourself with this process manually.
It’s also best to keep in mind that your layer changes will be restricted only to the z-axis.
Single Extruder 3D Printer With Upgrade
There are a few options on the market to automate the color change process. These work by automatically inserting filament into the hot end, and then, when a color change occurs, the upgrade systems will automatically pull the old filament out of the hot end and feed the new filament into the hot end. Then, the printer automatically keeps printing where it left off. It gives you the option to have thousands of color changes in a single model.
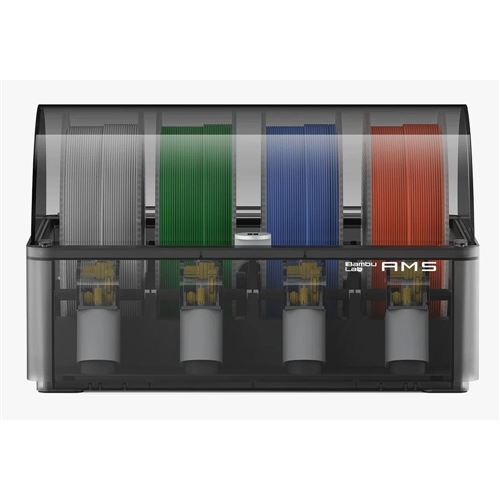
There are two printers that I would like to highlight that have a multicolor printing upgrade. You can get an AMS for the Bamboo Lab P1S or X1C 3D Printer, or you can go with Prusa’s MMU3 for the MK4. At our facility, we use the MMU from Prusa, but I do hear very good things about the AMS.
Bamboo Lab's AMS
Both of these upgrades only work for their respective printer, but they pretty much do the same thing with each. Both will automatically allow you to print different colors out of a single nozzle.
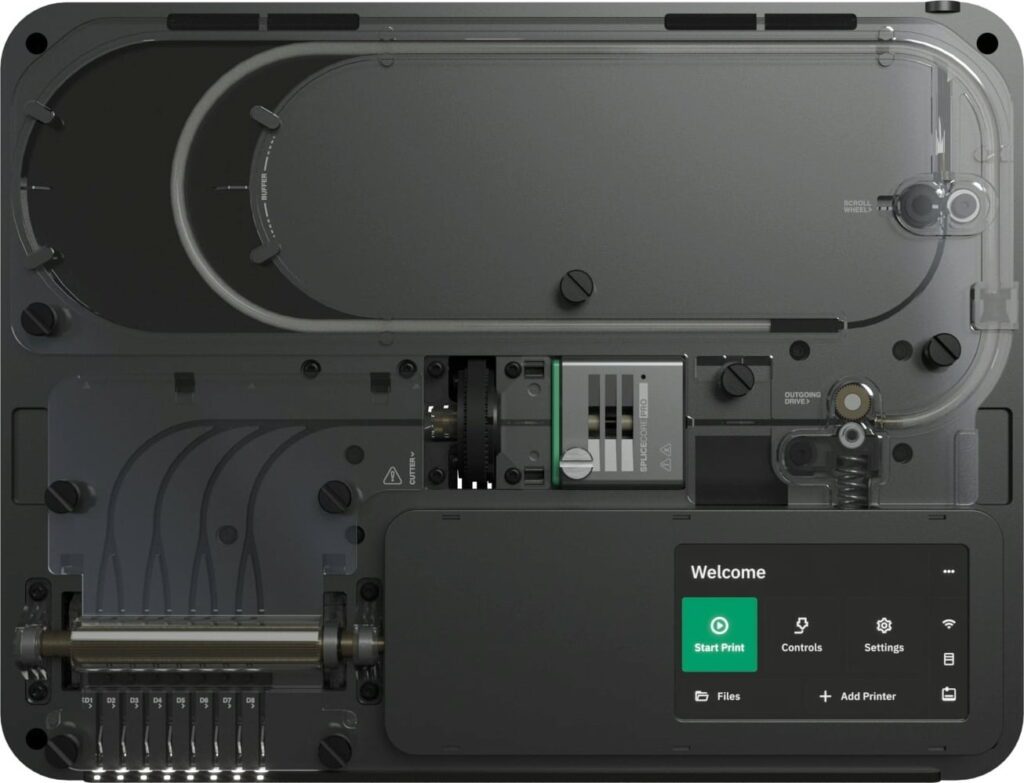
If you don’t have one of these printers, you can try a Mosaic Palette 3 for the upgrade. This automates the color changeout just like the AMS and MMU, but it works with almost every printer. The cool thing about this method is it splices the filament together, so you have just one strand going to the printer. There is no need for different materials to load and unload out of the same nozzle.
Mosaic Pallet 3 Pro
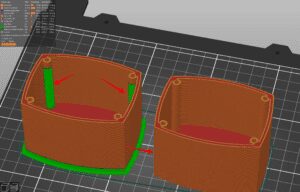
The main downside to these systems is the time it takes to change out colors. With the MMU3, you’ll have a purge block that the printer is using to ensure that all the old filament is purged out of the nozzle before it starts printing on the main object. This not only costs a lot of time, but it could get costly on material as well. I’ve seen objects where the purge block uses more material than the actual object itself.
The AMS has the largest material waste out of the three upgrades. Along with the purge block, it also has a “poop shoot” where it sends strands of filament out the back of the printer. From what I can tell, most people’s first print is a basket to contain all the filament coming out.
Splitting the Model
When we automate the color-changing process, we can add a whole lot more complexity to the coloring of the part. To do this, we’ll have to manipulate the model a bit in the 3D modeling software to signal to the slicer that we need color changes. This method can be used with all the upgrades and printers we will talk about in this guide.
We’ll use an example to show how you can split a model into multiple pieces. Then, when the model goes into the slicer, we’ll assign a color to each piece.
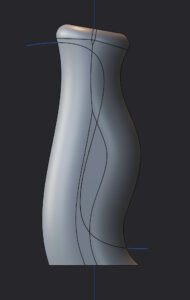
In this example, we’ll use a handle model. It’s part of a spatula that I use to get parts off the print bed. The handle is half red and half black, so we’ll have to make a cut to separate the two colors. You can see the cut I used below as the blue line that curves across the surface of the part. This cut was created in Plasticity.
From here, we can export each piece of the part separately as a .stl file. It’s a bit of a task, especially when you have lots of parts to color, but this is how the computer figures out which color goes where in three dimensions.
Now, you can drag and drop all files into the slicer at the same time. The slicer will ask if this is a multimaterial part, and you’ll select yes. Then, the slicer will use the coordinate system of each file to stitch everything together into one part.
You can then assign colors to each part on the right-hand side of the screen.
After that, all you have to do is set your printer settings, and you are ready to print multiple colors.
This method is one of the most reliable ways to add color to your models. It ensures there’s no color running or glitching that other methods can cause.
Painting in the Slicer
This method can take any model and add color to its surface. You can either smart fill, which adds color in between hard corners, or color with your mouse as if you were in the paint software.
The cool part about this method is it can be applied to any model, even if it’s not really made for multicolor 3D printing. Any file can be downloaded online, and then color can be added yourself, creating a whole new, unique model.
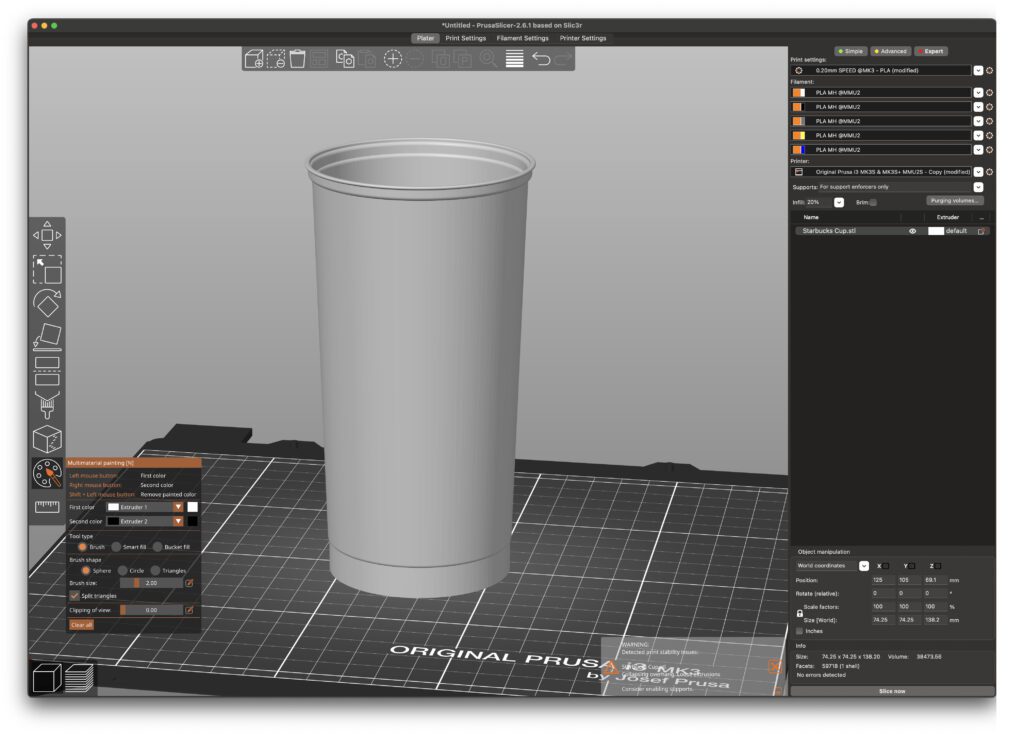
To start, just drag your file into the slicer and click on the paintbrush pallet on the right-hand side of the screen. It’ll be called Multi Material Painting. your screen should look like mine below:
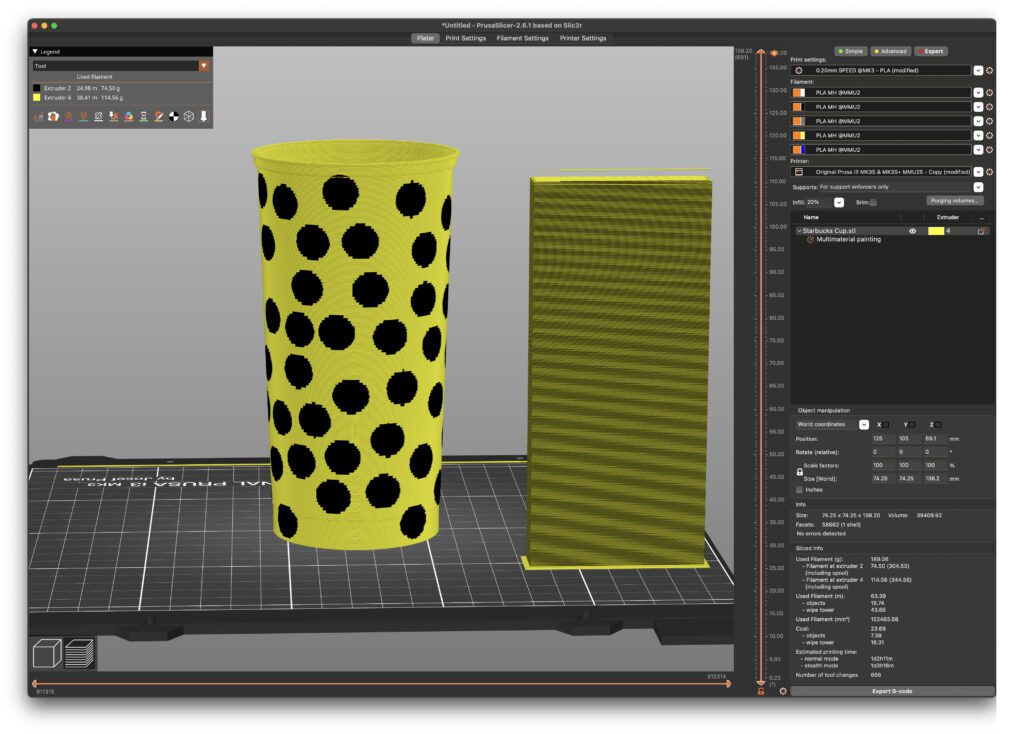
From here, you can set the base color of the model to yellow on the right-hand side of the screen and then use the right-click on the model to add black polka dots. You can add these wherever you like. Just like in the paint software. After you’re done with your masterpiece, it’ll look like something below:
You can see here that we added our black polka dots, but there really isn’t much of a pattern to them like in normal 3D modeling software. This example is a great use case for this method. In instances like this, you don’t need a pattern and can let your imagination run wild.
On the flip side, creating all these same exact dots with the previous method would be time-consuming and tedious. You could use a circular pattern, but that won’t give you the randomized pattern. You’ll have to create different planes and then extrude from each one. Painting them on would be a better use of my time.
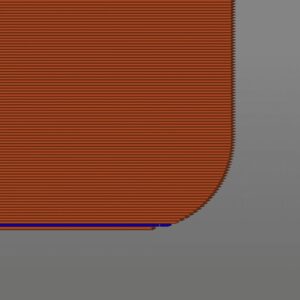
Just so you are aware, there is some glitching with this method. If you look at the very highest dot, you’ll see a bit of yellow bleeding at the seam. The feature is pretty new, so the painting method is not as reliable. If this is happening to one of your models, I would switch over to the first method.
Check out the video below for more information about painting in the slicer. This’ll give you a good idea of its limits and capabilities in the first minute and twenty seconds of the video.
Multiple Extruder 3D Printers
Multiple extruder machines have more than one print head. Instead of the filament getting pulled in and out of one hot end, the multiple extruder machines load one spool into each print head. This allows you to create parts in multiple colors and with multiple materials.
Multiple materials could include parts that use PLA as a part but ABS as a support material. You could also combine ABS and TPU together. The ABS will be the main part, while the TPU acts as a gasket to attach to another part. The combinations are endless.
A few examples of these machines include the Prusa XL or Flashforge Creator Pro. With the Flashforge, the hotends are fixed together on the x-axis. One extruder will print at a time, and they will switch printing as the color(or material) switches. Really good for dual-color print.
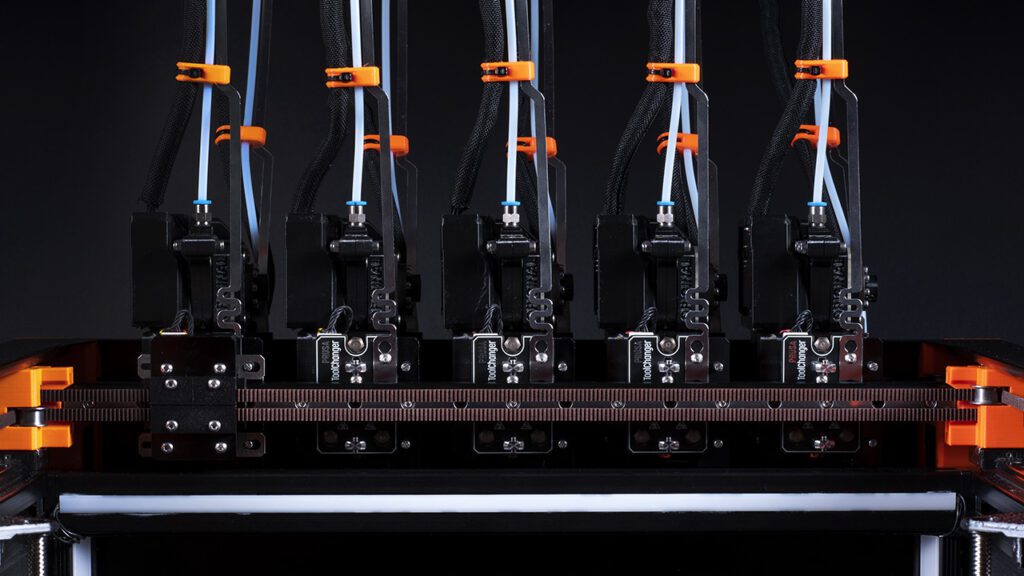
With the Prusa XL, the x-axis has a tool changer like a CNC machine. The axis will click in and out different extruders depending on which color or material is being called for in the model. This printer can create models with up to 5 different colors or materials.
Prusa XL 5 Head Tool Changer
A major advantage to multiple extruder machines lies in the time and use of material. Since each extruder already has its spool locked and loaded, there’s no reason for a huge purge block like in our polka dot cup picture. They do use a priming block, but this is much smaller, and it’s only used to normalize pressure in the nozzle.
With time, the printer doesn’t have to unload and load filament anymore. The process is so fast that it can turn 3d prints that take days into hours.
Prototyping and Manufacturing
Now that you know how the color-changing process works, you can add it to your next parts. Contact us with any questions with any questions you may have. We look forward to seeing your next parts with multicolor or multi-material integration.